
What Is a Woven Fabric?
If you’ve ever wondered, “What exactly is a woven fabric?” let’s start with the basics. A woven fabric is made by interlacing two sets of yarns—warp (vertical) and weft (horizontal)—at right angles on a loom. This creates a strong, stable, and durable textile that typically doesn’t stretch unless elastic fibers are added. Common examples include silk, denim, linen, and tightly woven quilter’s cottons. The Watercolor Wovens used in our project feature one color in the warp and another in the weft, creating beautiful visual depth. Not all wovens are solid—in fact, many are not—which opens up endless creative possibilities for quilting and beyond.Understanding Woven Fabric Weights: Lightweight, Midweight, and Heavyweight
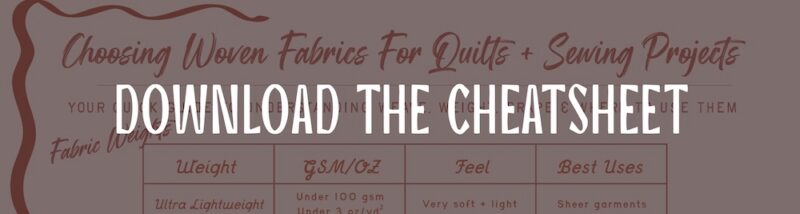
Fabric weight plays a big role in how your finished project looks and feels. At Cottoneer, we define woven fabric weights as follows: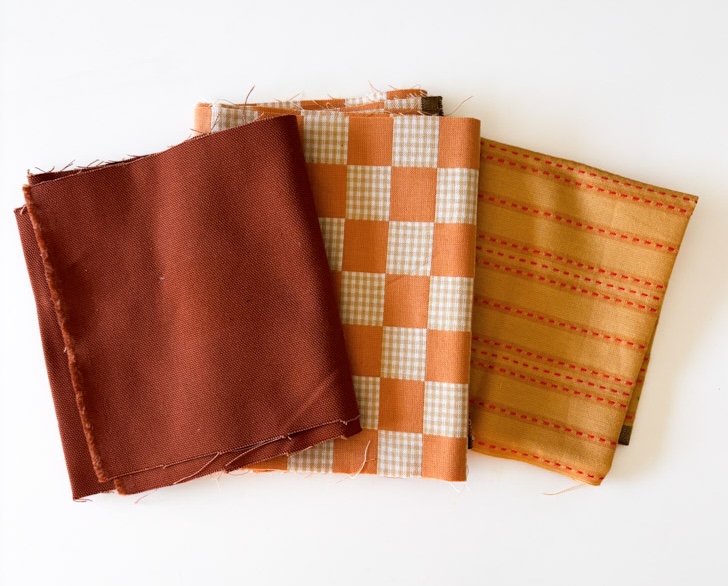
- Ultra Lightweight: Under 100 gsm / Under 3 oz per sq yd
- Lightweight: 100–170 gsm / 2.95–5 oz per sq yd
- Midweight: 170–300 gsm / 5–8.8 oz per sq yd
- Heavyweight: 300–400 gsm / 8.8–11.8 oz per sq yd
- Ultra Lightweight wovens are great for sheer garments.
- Lightweight wovens are ideal for blouses, dresses, quilts, and delicate crafts and have the most drape.
- Midweight wovens are incredibly versatile and work well for structured apparel, bags, quilts, patchwork, and home décor.
- Heavyweight wovens are best for upholstery, structured garments like trousers, workwear, and sturdy bags.
How to Choose the Right Woven Fabric for Your Pattern
Most patterns offer fabric recommendations, which are a great place to start. To be sure your chosen fabric will work well, consider:- Weight: Lightweight, midweight, or heavyweight
- Drape: Does the project need to flow or hold its shape?
- Structure: Does it require body or stiffness, like a tote or trousers?
- Opacity: Should the fabric be sheer or opaque?
- Fiber content: Does the pattern specify cotton, linen, silk, or allow synthetics?
Should You Pre-Wash Woven Fabric?
Pre-washing is one of those topics with strong opinions—and I’ll share mine. I generally prefer to launder almost every fabric before starting a project to remove any potential shrinkage. That said, this isn’t a universal rule. Some quilters prefer the crispness of unwashed fabric for seam accuracy and love the natural “crinkle” that appears after washing a finished quilt. For the project featured here, I chose not to pre-wash the fabric. Others pre-wash to soften fabric, remove excess dye, or for skin sensitivity. Ultimately, whether or not to wash isn’t a hard-and-fast rule—it’s personal preference.How to Prevent Fraying When Washing Wovens
If you do pre-wash, I recommend securing the raw edges with a zigzag stitch or serger to prevent excessive fraying. You’ll see a big difference between fabrics washed with bound edges and those without. Using starch when ironing after washing helps restore a smooth, flat surface for sewing, and those with sensitivities can make starch at home.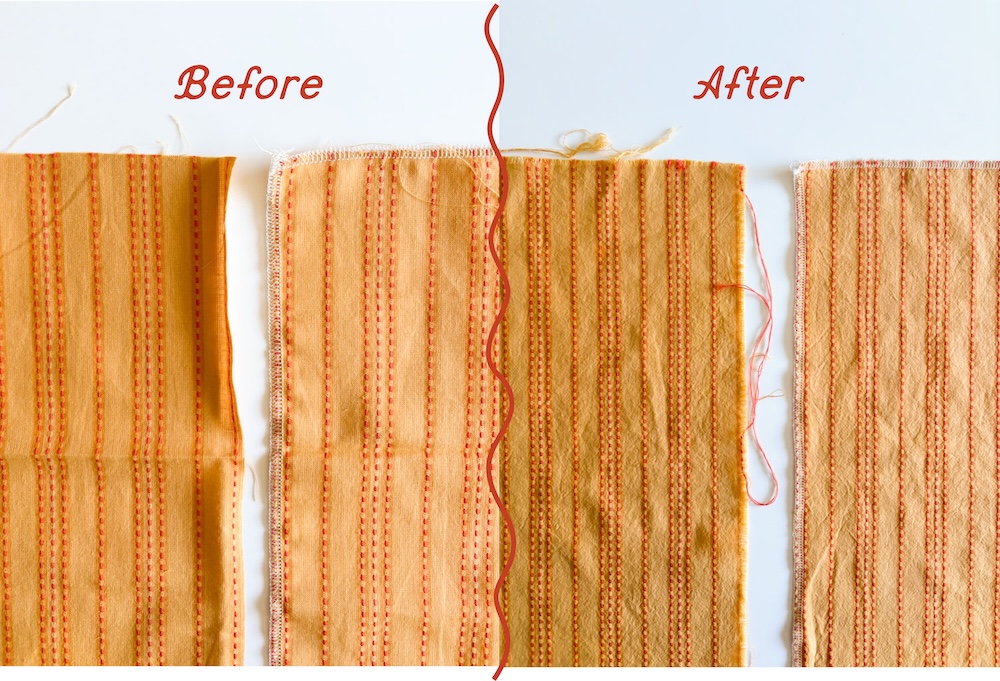

Right Side vs. Wrong Side of Woven Fabric
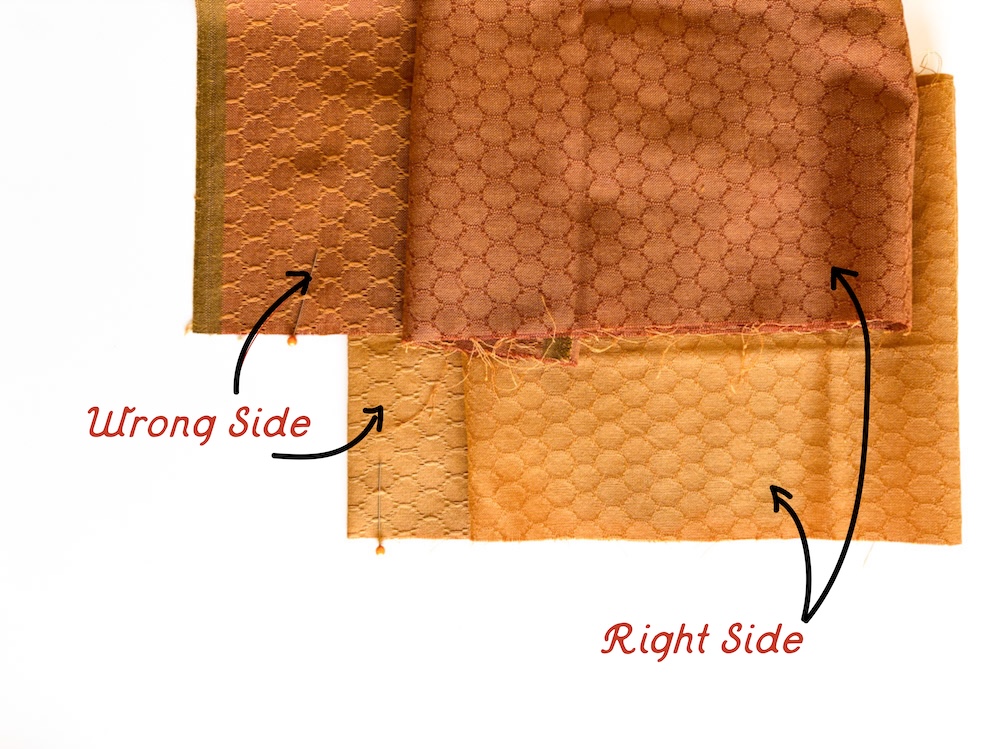 Most cotton and linen wovens technically have a right side and a wrong side. The right side is usually smoother, while the wrong side may feel slightly rougher. With solid wovens, the difference can be subtle—and I don’t usually stress about it. Printed fabrics, of course, make this distinction more obvious. When working with Honeycomb by Fableism, I initially gravitated toward the side with stronger contrast, only to realize it was technically the wrong side. Could I have used it anyway? Absolutely—you’re the creator of your project. However, the honeycomb weave is looser on the back, making it more prone to snagging. In most cases, using the true right side is the more durable choice. I’ll show the difference using a pin through the more loose thread in the photo.
Watercolor Wovens Placemat Project
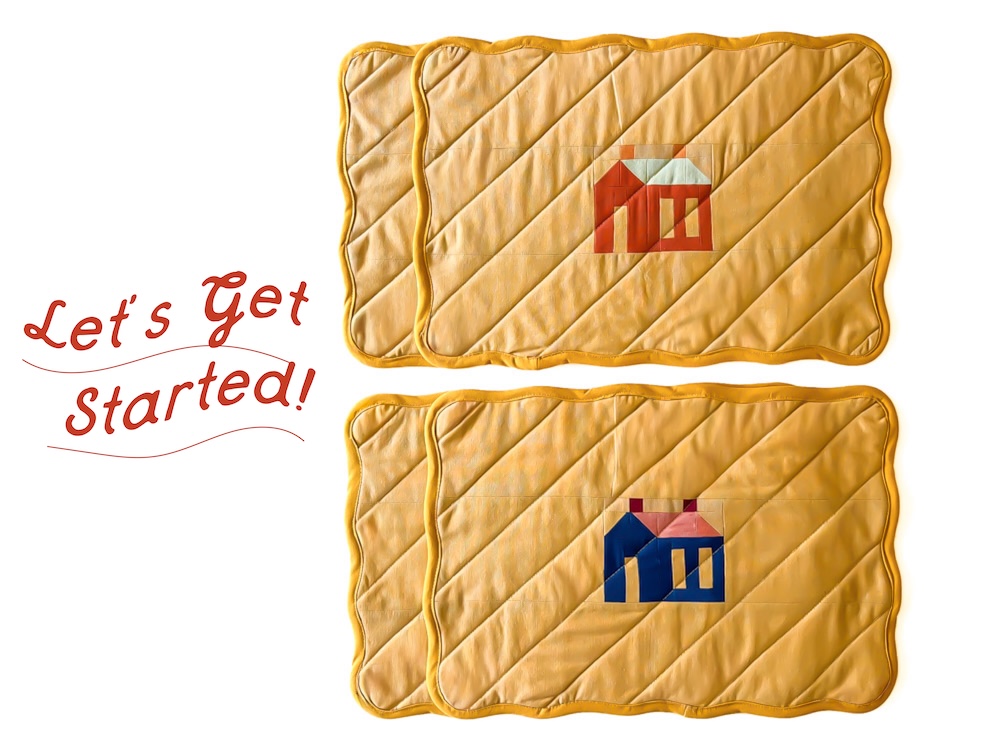 Now let’s jump into the project! We’re featuring Watercolor Wovens, known for their softness, elegance, and two-color yarn structure that creates a subtle color shift reminiscent of watercolor paint strokes. This project is a beautiful way to refresh your home as we move into a new season. We’ve paired the free Ma Ma Osa Placemat Pattern with the charming Spaghetti Western’s Hurry Home Block, which is also perfect for quilts and other creative projects.
Fabric Choices for the Scalloped Placemat
Option 1- Curtain Call (chimney)
- Snapdragon (roof)
- Bluebird (house)
- Millet (background)
- Saffron (chimney)
- Meadow (roof)
- Poppy (house)
- Millet (background)
Fabric Requirements:
We used 2 yards of a top fabric (44″ wide) and 2 yards of a backing fabric to create 6 placemats. A 3/4 yard of (44″ wide) fabric is needed to create 2″ wide bias tape for 6 placemats.
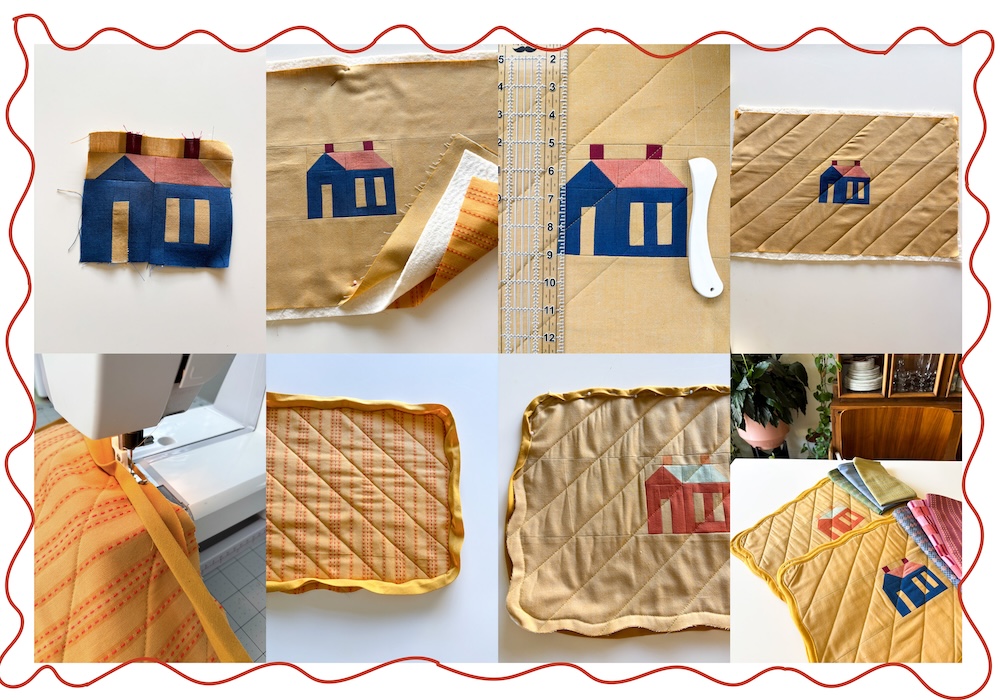
How to Make the Scalloped Placemat
- Follow the Hurry Home Mini Block directions to create a 4.5″ × 5″ finished block. Cut two 4.5″ × 8″ background pieces (Millet) and attach to the left and right sides using a ¼” seam. Press seams open. Cut two 5.5″ × 20″ background pieces and attach to the top and bottom. Press seams open.
- Create a quilt sandwich with your pieced top, cotton batting, and contrast backing. Mark quilting lines using a ruler and your preferred tool.
- Quilt along marked lines and clip threads.
- Place the placemat pattern over the mini quilt and cut out the shape.
- Bind with bias binding using your preferred method.
Finishing Touch: DIY Cloth Napkins
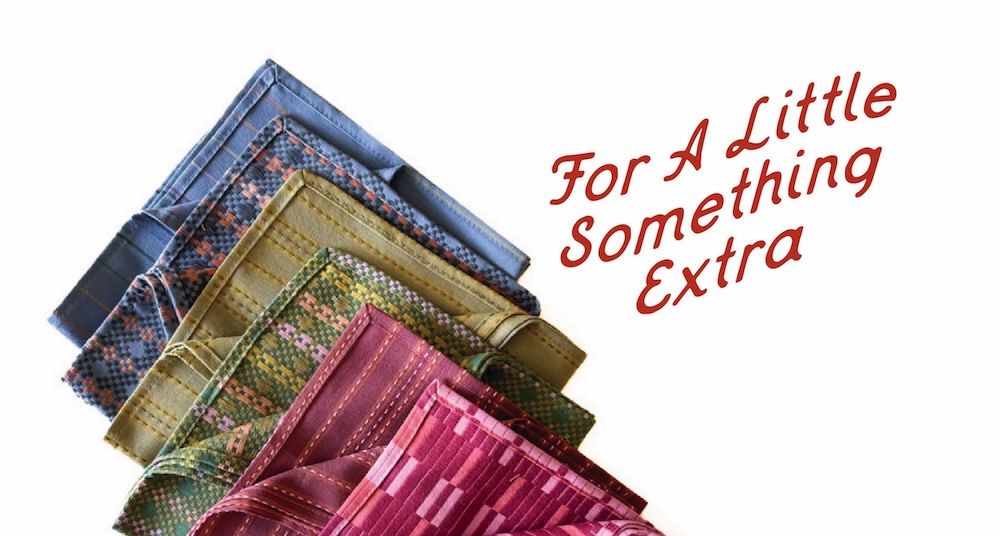 Once the placemats were finished, they clearly needed fun napkins. I used six Lucky Loom fat quarters, cut to 18″ × 18″ squares, double-folded and pressed the edges at ¼”, mitered the corners, and top-stitched around the edges. It’s a simple project that adds a beautiful finishing touch to this fresh table setting. Enjoy your projects!
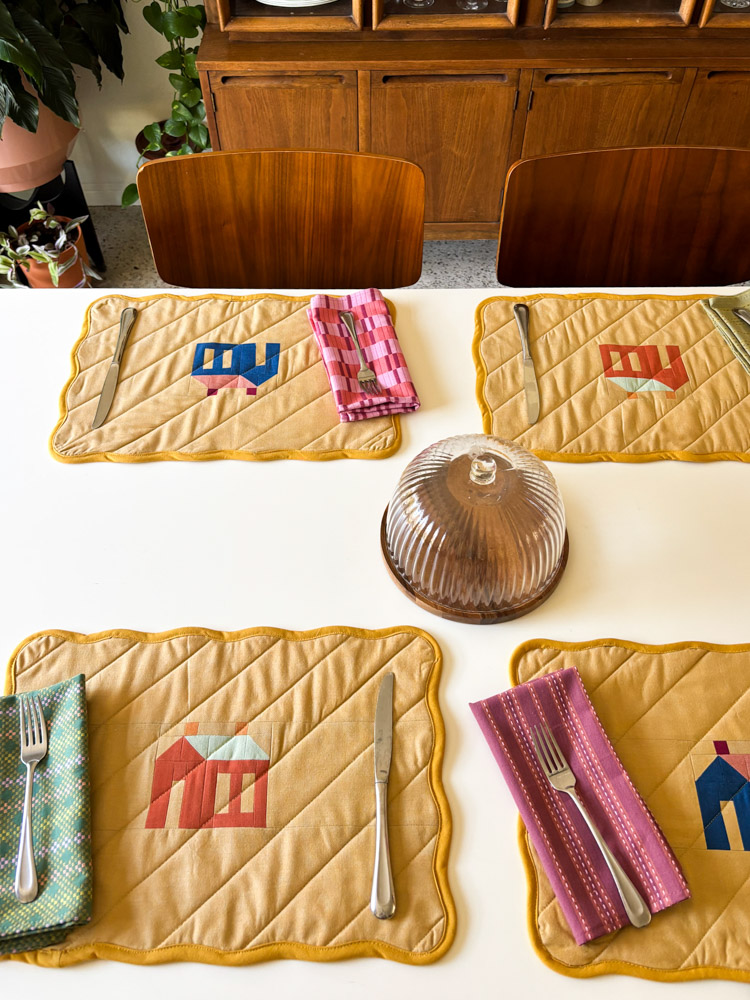
 – –
– –  ––
––  – ––
– –– 


Leave A Comment