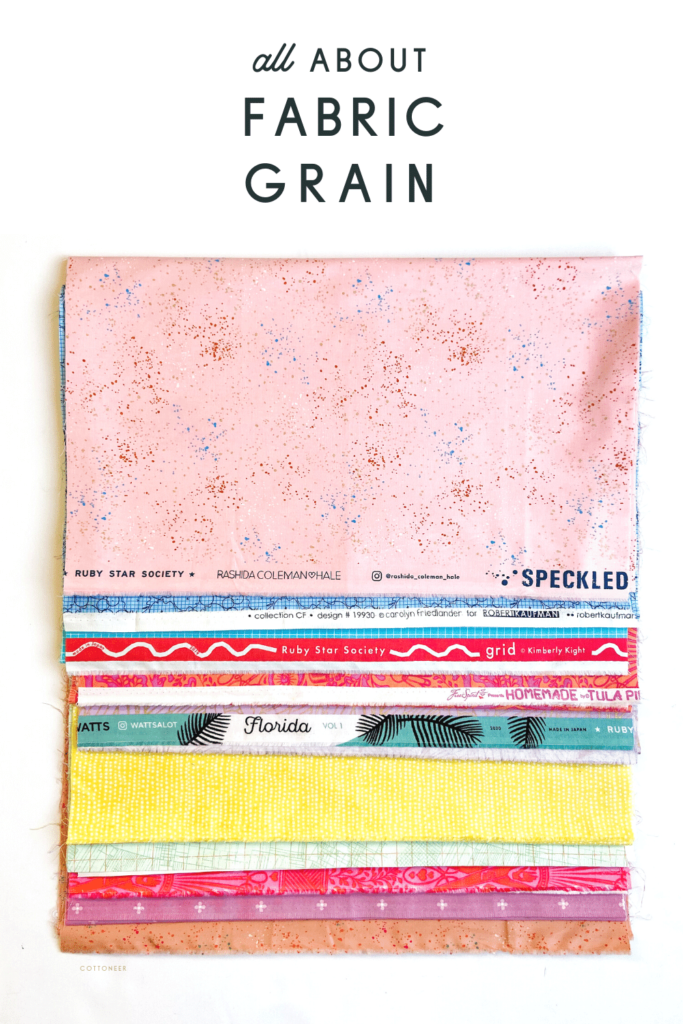
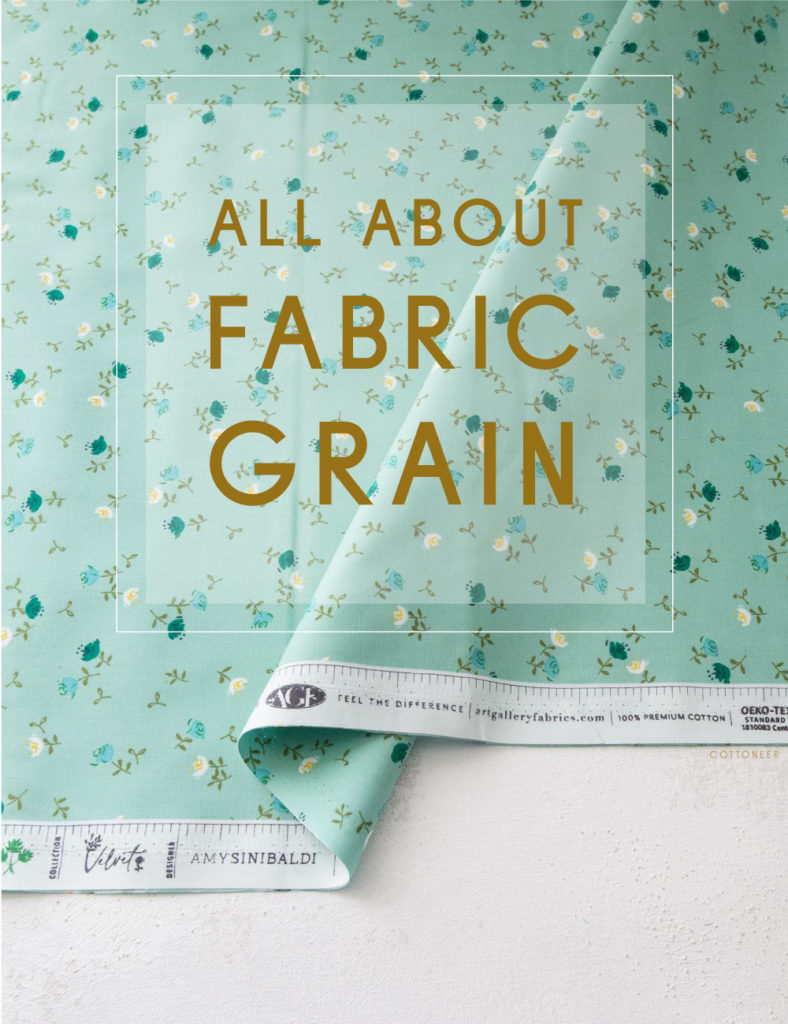
Lengthwise, straight, crosswise, bias, warp, weft – there are lots of terms to describe fabric grain. And if you’re new to sewing or quilting, it might feel overwhelming. But a basic understanding of fabric grain and how to manage bias edges can help improve the accuracy of your piecing. So let’s break it down!
What is a Selvage Edge and How Do You Find It?
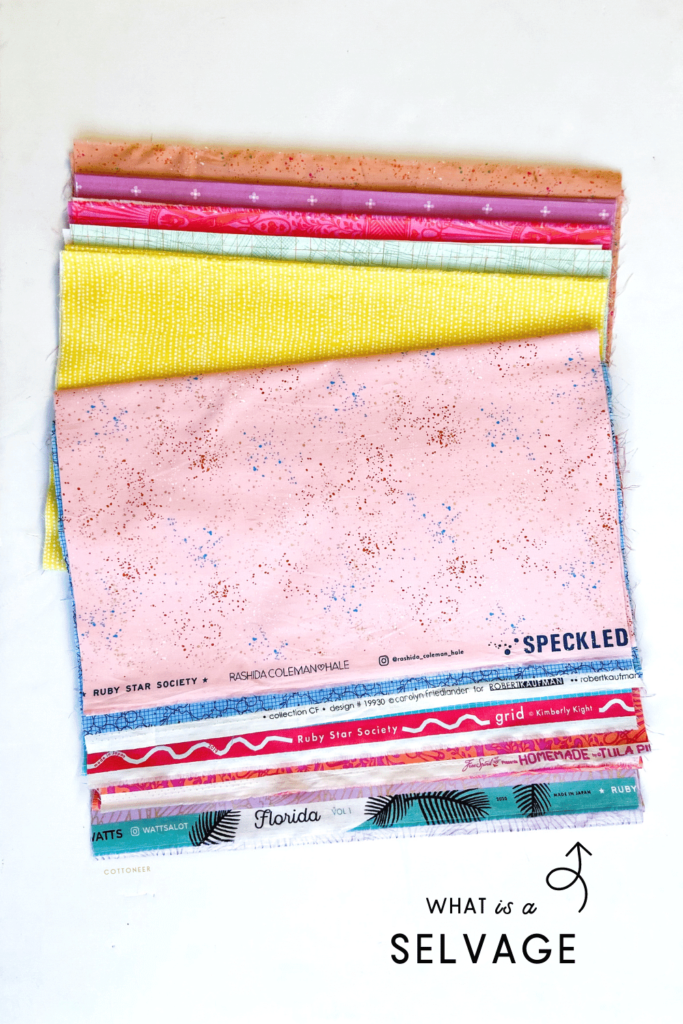
A piece of fabric cut from a shop will have two selvages – one at either end of the width of fabric. The selvage is a ½-1 inch section of threads at the edge of the fabric that are tightly woven in order to keep them stable and prevent them from fraying.
Depending on the type of fabric, the selvage may not always look the same – it may be an obvious white strip with printed information on it (generally the manufacturer or brand name, designer, etc.), a more discrete thick band of threads with tiny holes (which were used when the fabric was made) or even a simple tufted edge.
Selvage vs. Selvedge. What the heck?
You may find two different spellings of our topic in your travels across the internet. Don’t worry! Selvage and Selvedge mean the same thing. The main difference is “selvage” is used in the US, while you’ll find “selvedge” of English origins.
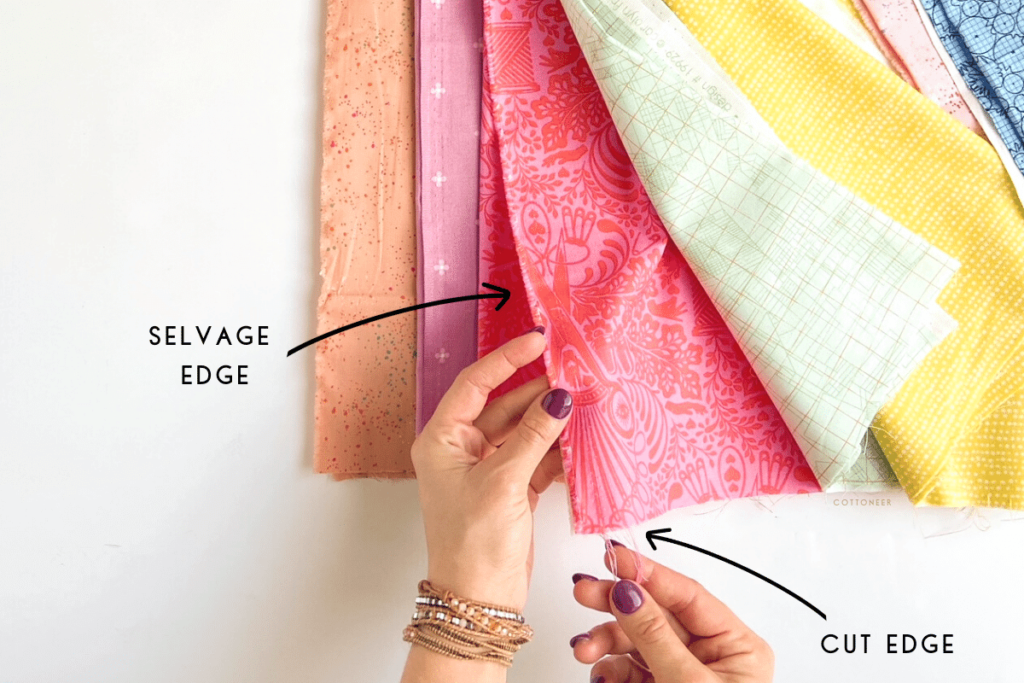
A simple tug on the threads at the edge of your fabric will help you determine if the edge is the selvage or if it’s the end that was cut at the shop. The threads on the selvage edge will not fray, whereas those on the cut edge will. Selvages are commonly trimmed off and removed before using the fabric for a sewing project.
What is Fabric Grain?
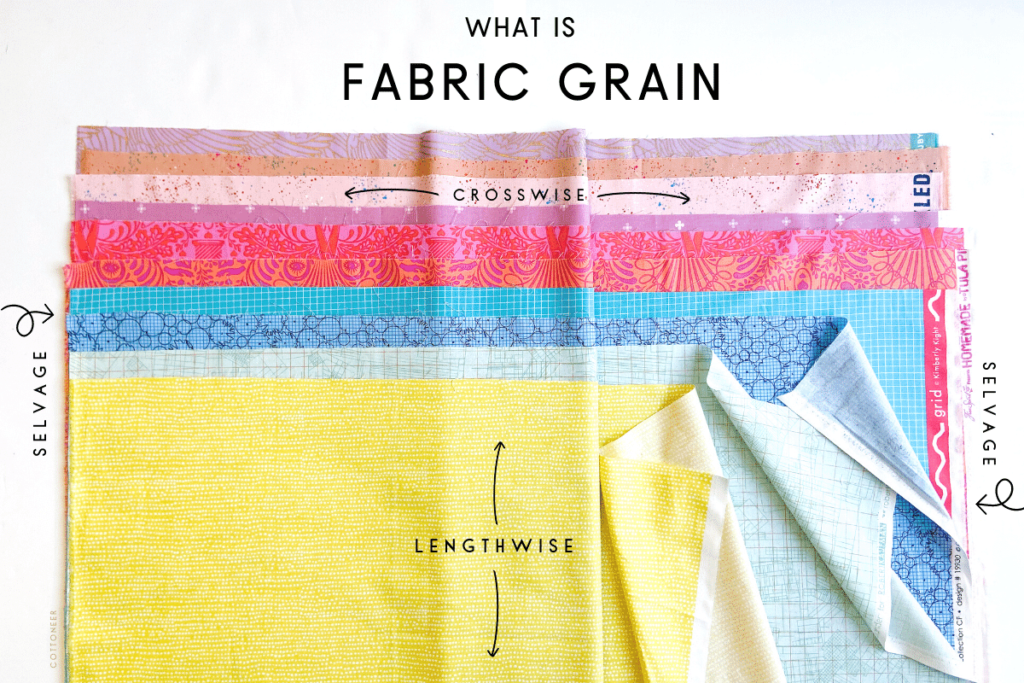
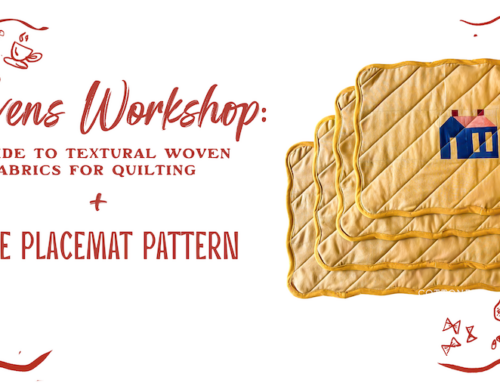
Most fabrics (like quilting fabric and textured cotton wovens) are made by weaving together threads in a perpendicular fashion. The grain refers to the direction that those threads travel, which can be one of two ways:
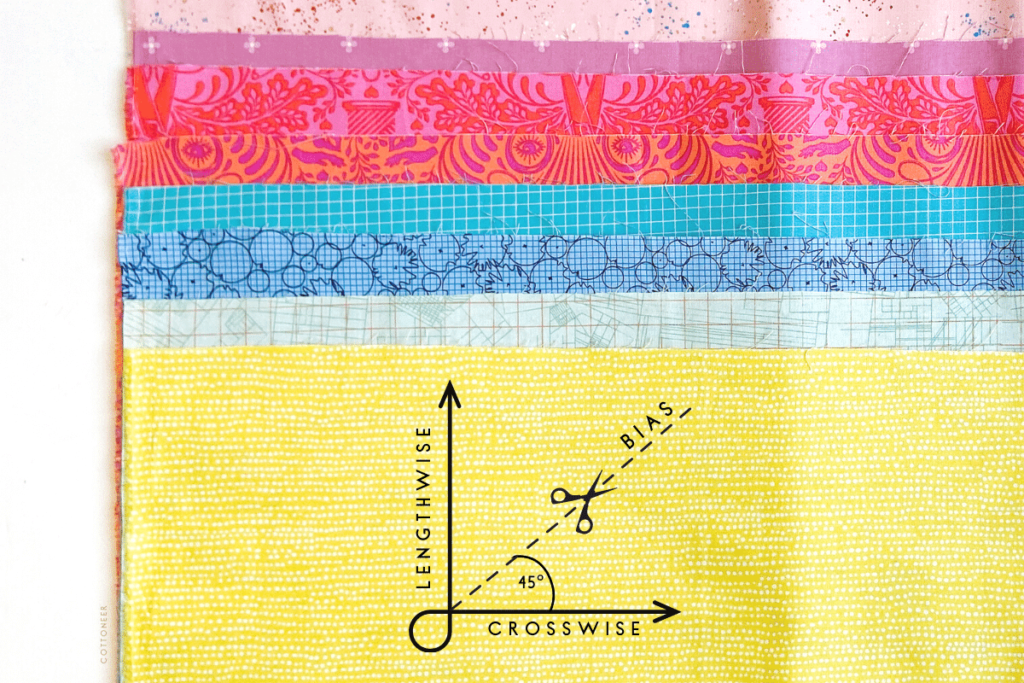
- Lengthwise Grain (Warp): The lengthwise grains, or warp, are the long threads that run parallel to the selvage for the entire length of the fabric yardage. This direction is also sometimes referred to as “straight grain”.
- Crosswise Grain (Weft): The crosswise grain, or weft, are the short threads that run perpendicular to the selvage (or from selvage to selvage).
What Does it Mean to Cut on the Bias?
In addition to lengthwise and crosswise grain, there is also something called bias. This refers to cutting the fabric at a 45-degree angle to the lengthwise or crosswise grains.
How Do You Find the Grain Line?
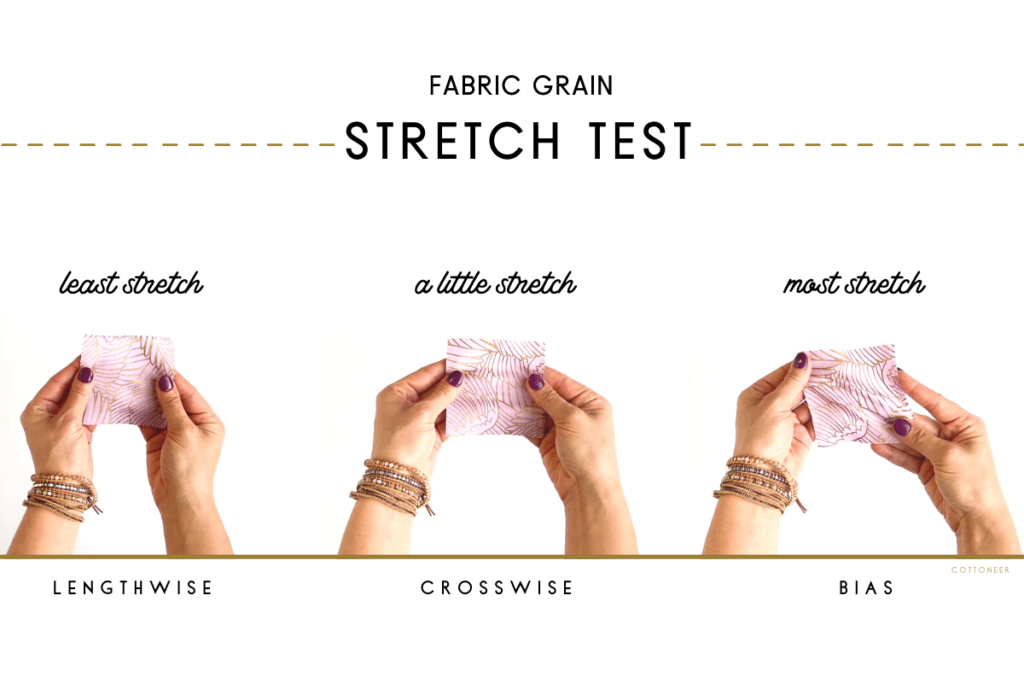
On a piece of fabric cut from a shop, you can typically locate the selvage ends and know right away which direction is which. But what if you have a piece of fabric that’s missing those obvious selvage edges? You can do a stretch test.
The lengthwise, crosswise and bias grains stretch differently. The lengthwise grain stretches the least, the crosswise grain stretches a bit more, and the fabric stretches the most along the bias.
Grab a piece of scrap fabric and try this out – you should be able to identify all three grain lines with this simple stretch test.
Why Should You Care About Bias Edges?
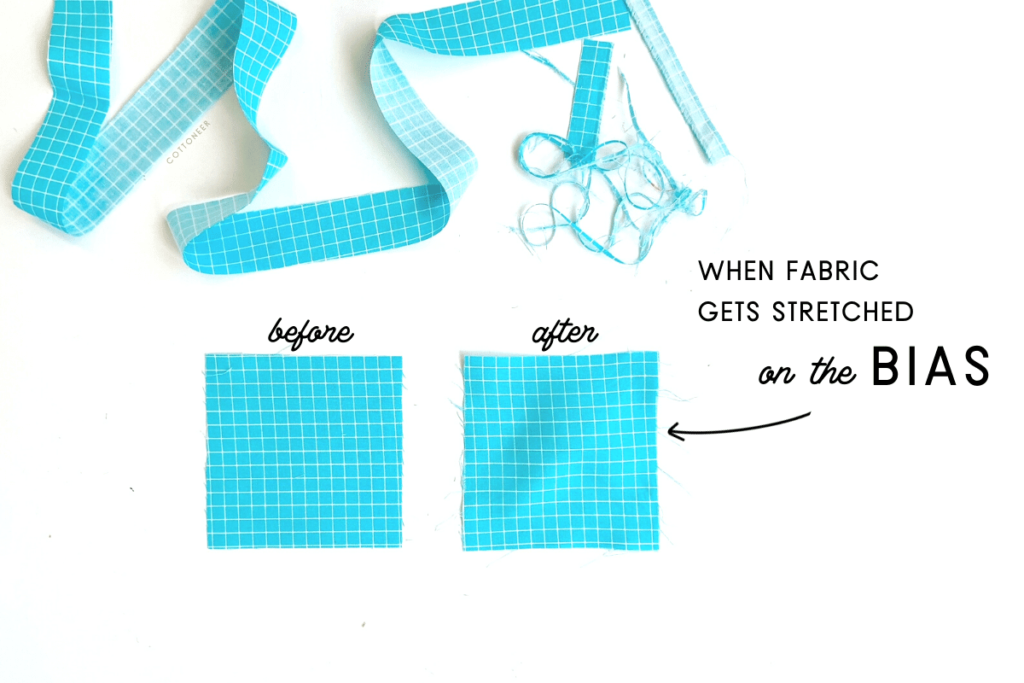
When you cut along the bias, the fabric is at risk of stretching because it loses support from the lengthwise and crosswise threads. And distorted shapes can impact the accuracy of your sewing. Below you can see how fabric warps when it gets pulled at the corners along the bias.
When Might You Encounter Bias Edges?
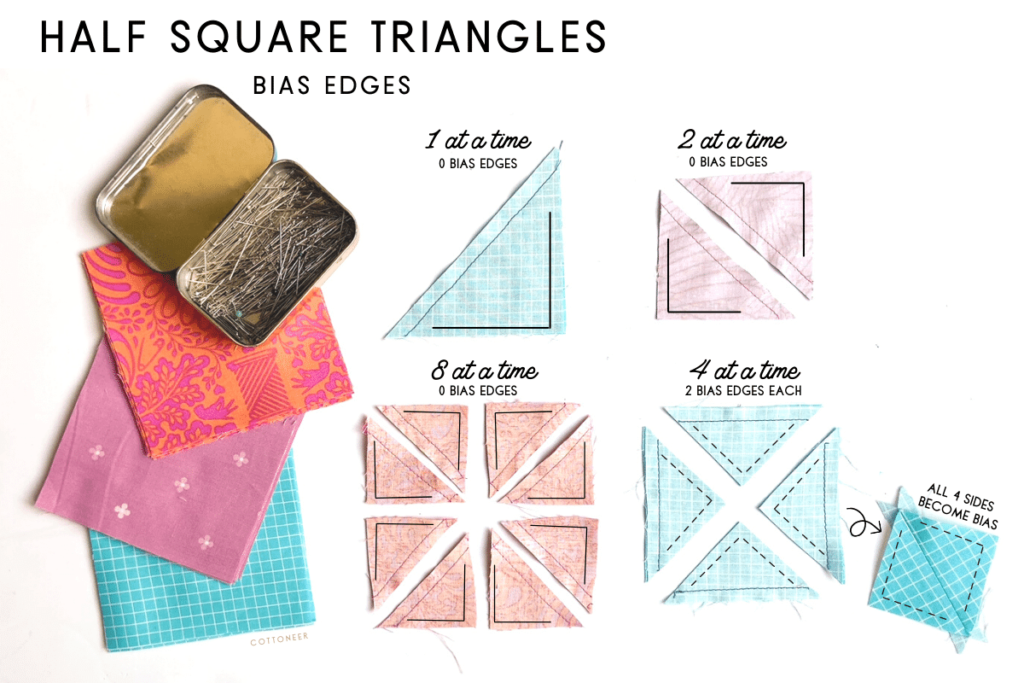
Three words – half. square. triangles. Due to the nature of their shape, triangles always have at least one bias edge.
The method you use for making your half square triangles (HSTs) will determine how many exposed bias edges (those without a sewn seam) your final HST unit has. HSTs with exposed bias edges are at a higher risk of becoming stretched or distorted as you handle them.
Your final HSTs will not have any exposed bias edges when using the one at a time, two at a time, or eight at a time methods. In the image below you can see that, for these three methods, each side that was cut on the bias (diagonal) is sewn with a seam and the exposed edges remain on grain (solid lines).
However, making HSTs 4 at a time gives you two bias edges per HST – which, when pressed open, results in bias edges on all four sides of your HST unit (dotted lines).
Tip for Working with Bias Edges
It’s OK to have bias edges if you know how to handle them. Here are a few tips:
- Handle pieces with bias edges gently. Don’t touch them more than you need to and don’t pull or stretch the bias edges while sewing.
- Press with your iron, don’t drag. Press straight down onto the fabric with your iron and lift if straight off the fabric to avoid pulling the threads and warping the shape. Spray starch can also help give bias edges more stability.
- Use pins. Pin bias edges generously to hold them in place while you sew.
- Sew slow. Go slow when sewing bias edges and don’t push or pull the fabric – let your machine feed the fabric under the needle.
Let us know if you have any questions about fabric grain in the comments!


Leave A Comment