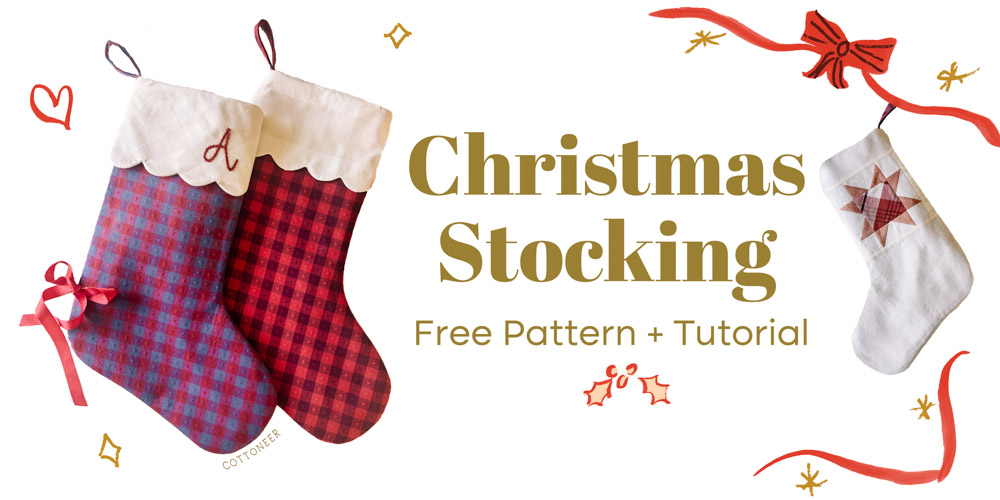
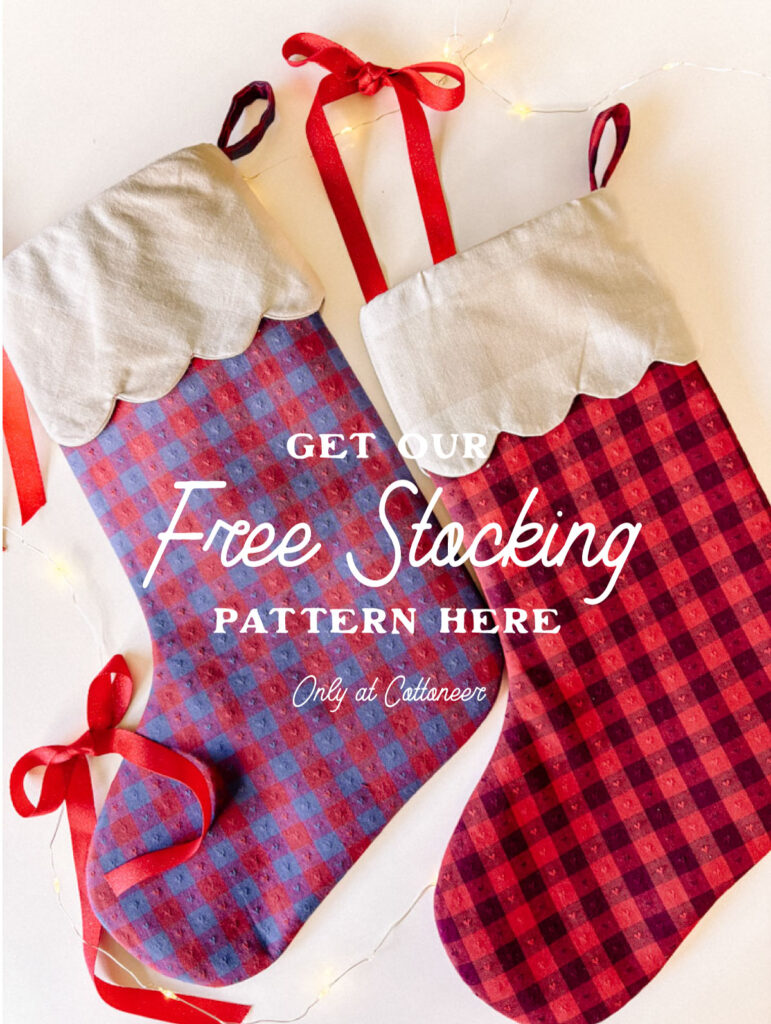
 – – Sewing your own Christmas stockings is a wonderful way to personalize your decorations. You can, of course, use any color combination and add small personal details to make them special for your family and your space. Touches like embroidered initials, beads, ribbons, or trim enhance them as heirloom pieces to pass down for generations. One of the most fun ways to personalize your stocking is by picking out unique fabrics! We used woven fabrics in our samples because we love their timeless quality and texture! –
  –
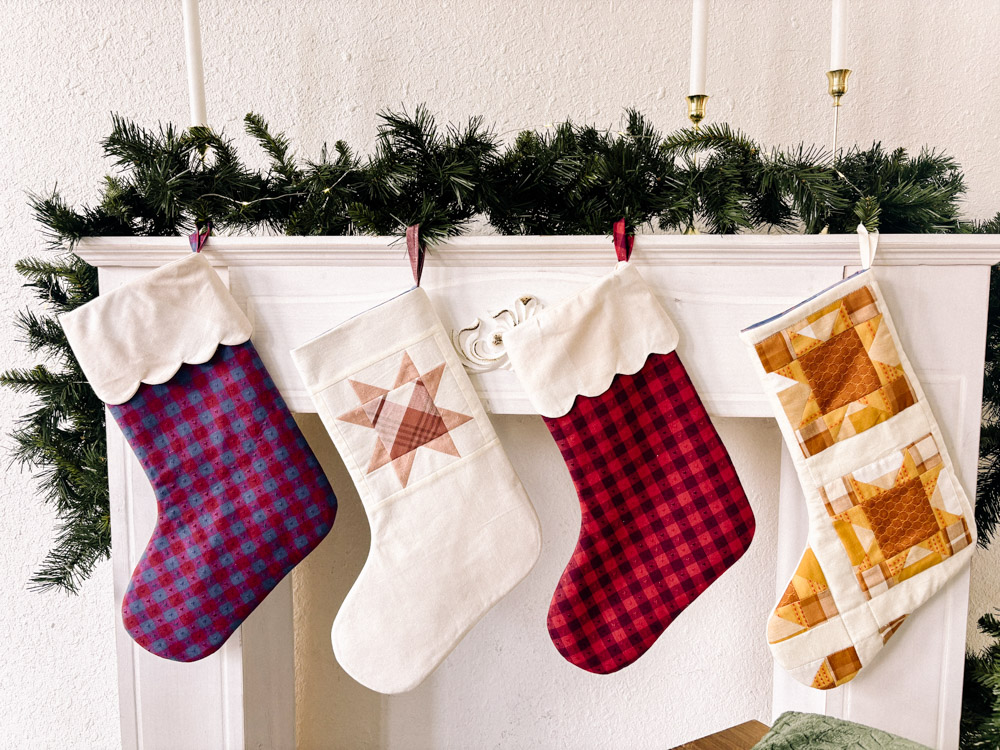
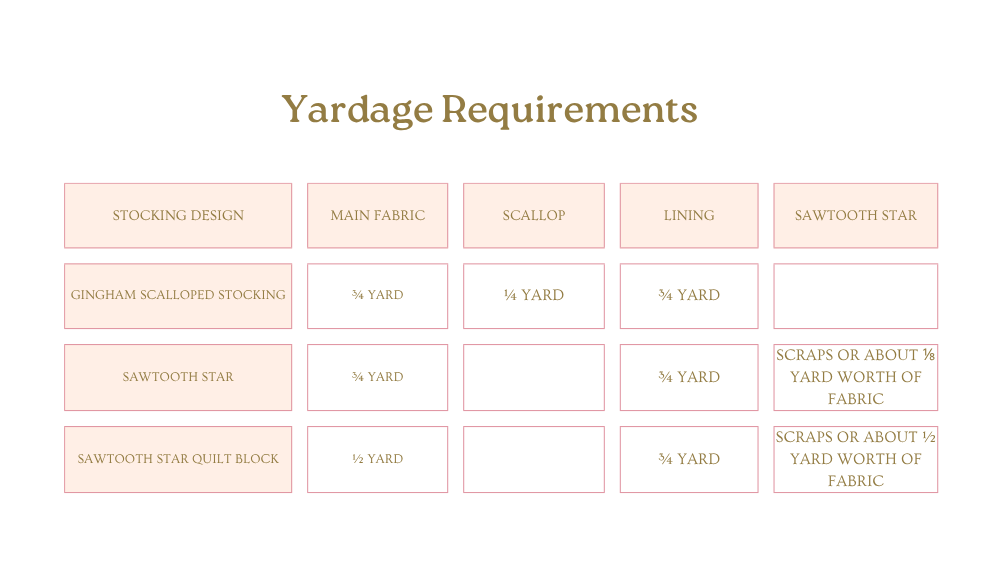
–  – – We’re excited to introduce two gorgeous stocking styles: Scalloped Cuff or Sawtooth Patchwork! We love both styles so we had to do both! Before we get started let’s have a look at everything we need to get started! The supplies you’ll need for the project are fairly straight forward. Use the chart below to gather your fabric.
- Printed Pattern
- Sewing machine
- Scissors and pinking shears
- Fabric pen or chalk
- Coordinating thread
- Batting OR fusible fleece
- Iron with a surface to iron on
- The optional 2 inch metal washer
 – –
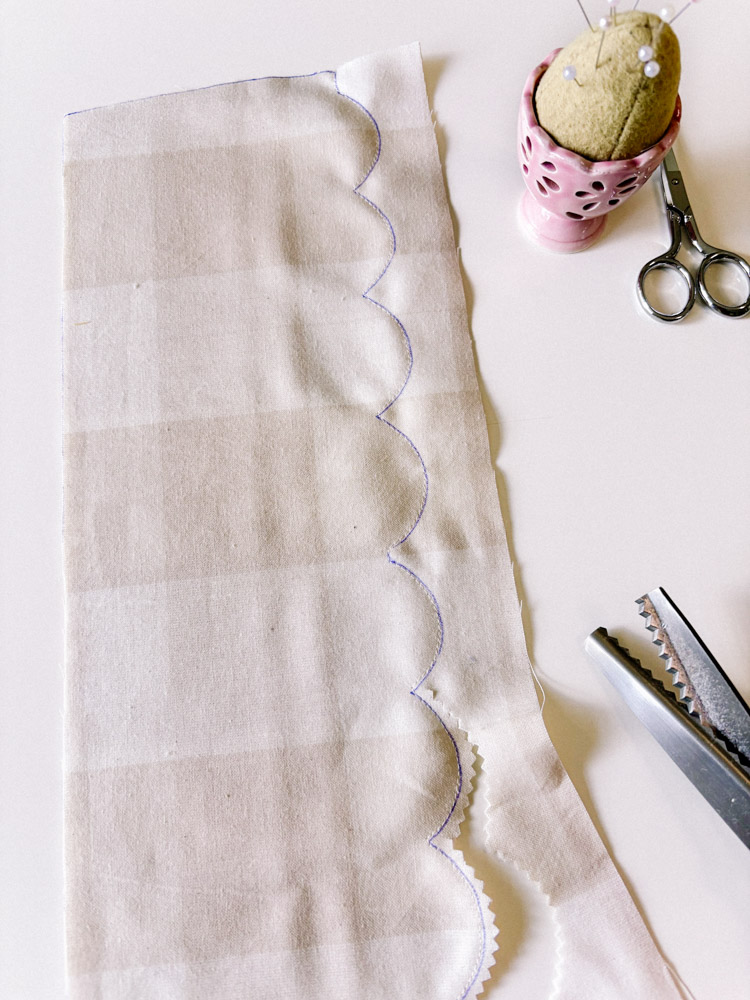
– –  – – – – SCALLOP STOCKING Let’s dig into some details and tips for the stockings, starting with the scalloped cuff detail. It’s helpful to use a fabric pen or chalk to mark and sew your scallops.
- Place the two layers with right sides together and trace your scallop pattern. Then sew directly on the bottom curved line you drew.
- Next, cut close to that stitch line with pinking shears to help turn the curves, and clip the points between the scallops with small scissors.
- If you do not have pinking shears, clip notches along the curves.
3. When turning and pressing your cuff, I like to use a large 2-inch metal washer from the hardware store to push out and iron the scallop curves. Those washers also double as fabric weights when pattern cutting, making them a valuable sewing supply to keep in your kit. I shared a short video of this simplified scallop process on my Instagram account if you’d like to watch and learn this time-saving tip.
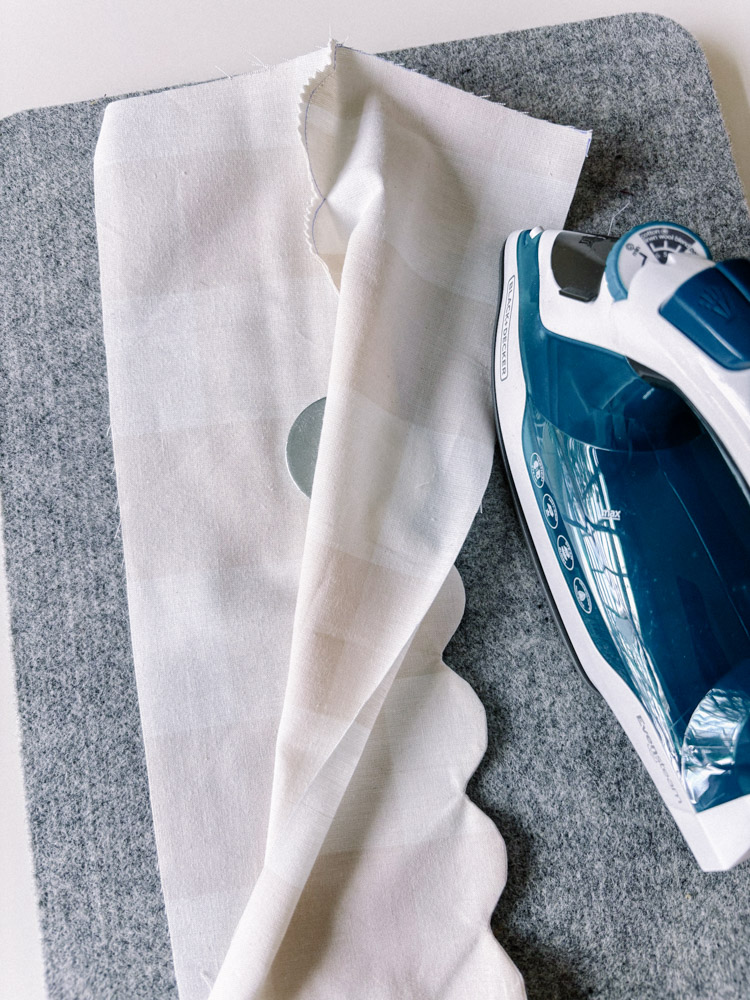
4. Once you’ve completed ironing the long scallop strip, bring the short ends right sides together and sew the side seam.
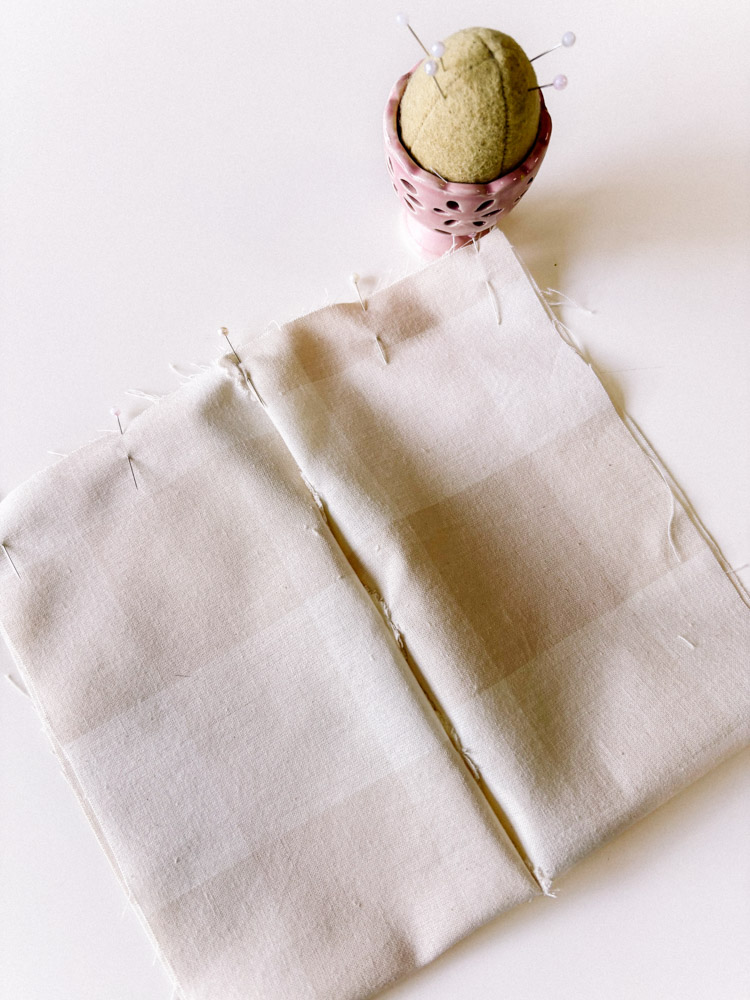
5. Turn your cuff right side out and you’re now ready to pin it to the outer layer of your stocking before adding the lining to the stocking as shown in Step 1 in “Attach Your Lining” below.
– – SAWTOOTH STOCKING – –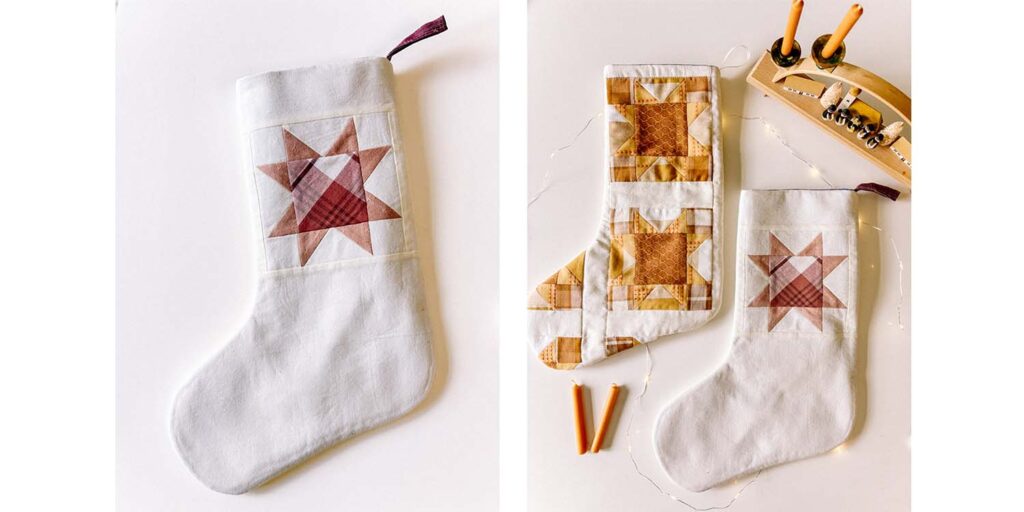 – – Here’s what you’ll need to cut for 6½-inch Sawtooth Stars :
- Flying Geese 4 at a time is made with:
- (1) 4.5 inch square out of your background fabric. We used Sprout Woven in Sugar.
- (4) 2.5 inch squares out of your main fabric for the points.
- Squares:
- (1) 3.5” center square out of your main fabric for your star.
- (4) 2×2” squares. We used Sprout Woven in Sugar.
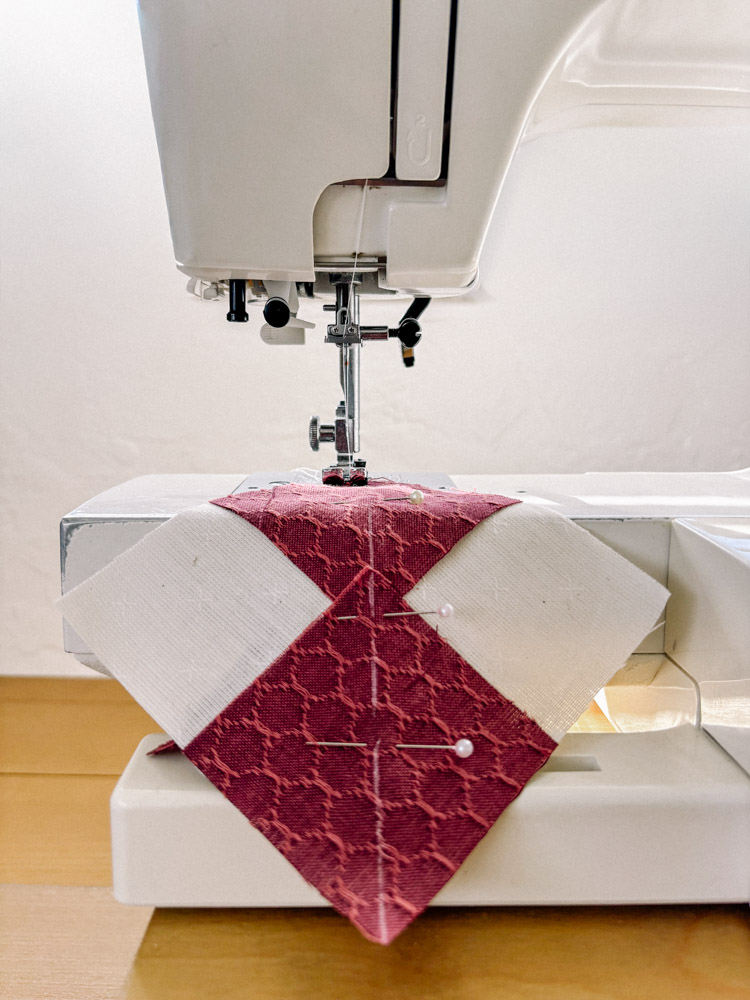 –
–- Place the 2 1/2 inch square with right sides together on the 4 1/2 inch square in the opposite diagonal corners.
- Draw a line diagonally through the smaller squares
- Stitch a 1/4” from each side of the line.
- Cut down the middle where your line is drawn. Press the smaller points up and away from the larger triangle. You will have two project pieces you’re working with.
- Now place the remaining 2 1/2 inch square on the bottom point of the larger background triangle with the other point up toward the center of the two main fabric triangles and draw a line diagonally. Stitch a ¼” from each side of the line.
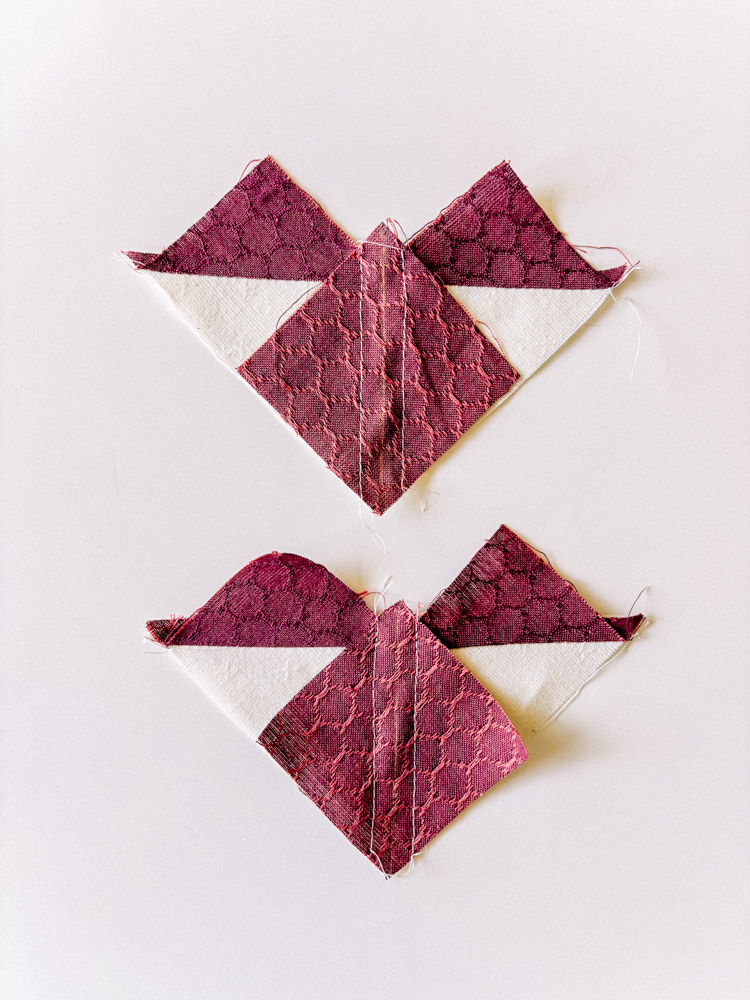 –
–6.Cut down the middle where your line is drawn and press the smaller triangles away from the center again. You are now able to trim the flying geese to the 2×3 1/2 inch rectangles.
–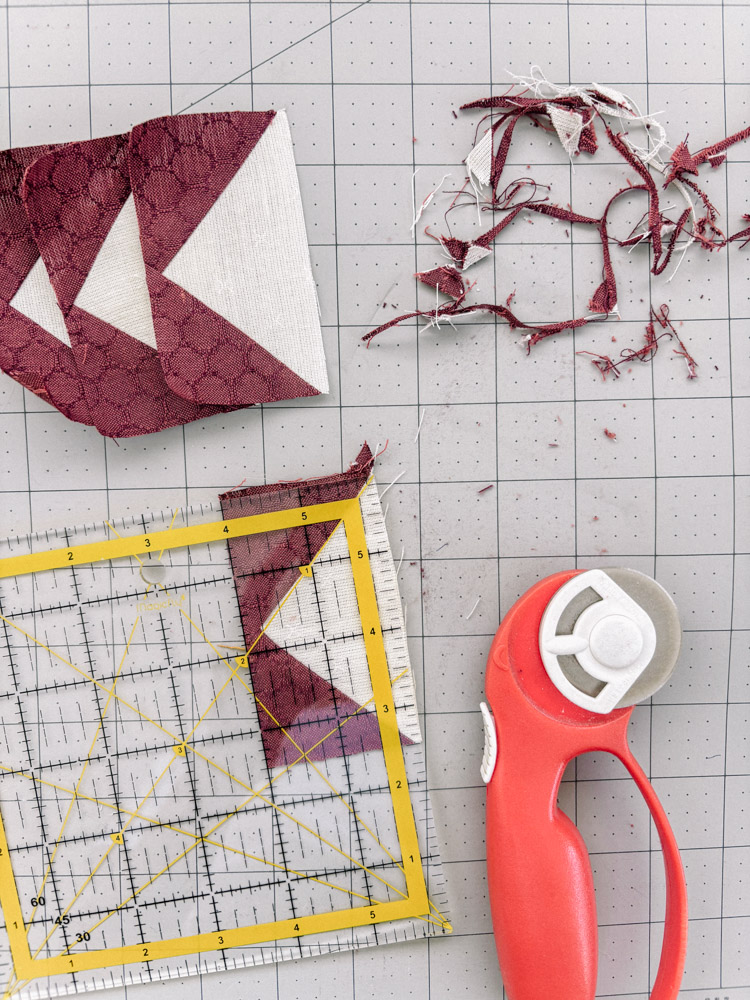 – Assemble the quilt block using four flying geese units with a finished measurement of 2″ × 3½”, one 3½” center square, and four 2″ × 2″ squares. The Sprout in Sugar sashing strips were also 2″ wide, bringing all the elements together and unifying the fabrics. This block size —or even smaller—works beautifully with this stocking pattern. You’ll need to make sure your block and solid fabric combo fill the space of 15″ x 22″ inches to have enough for your pattern layout. –
 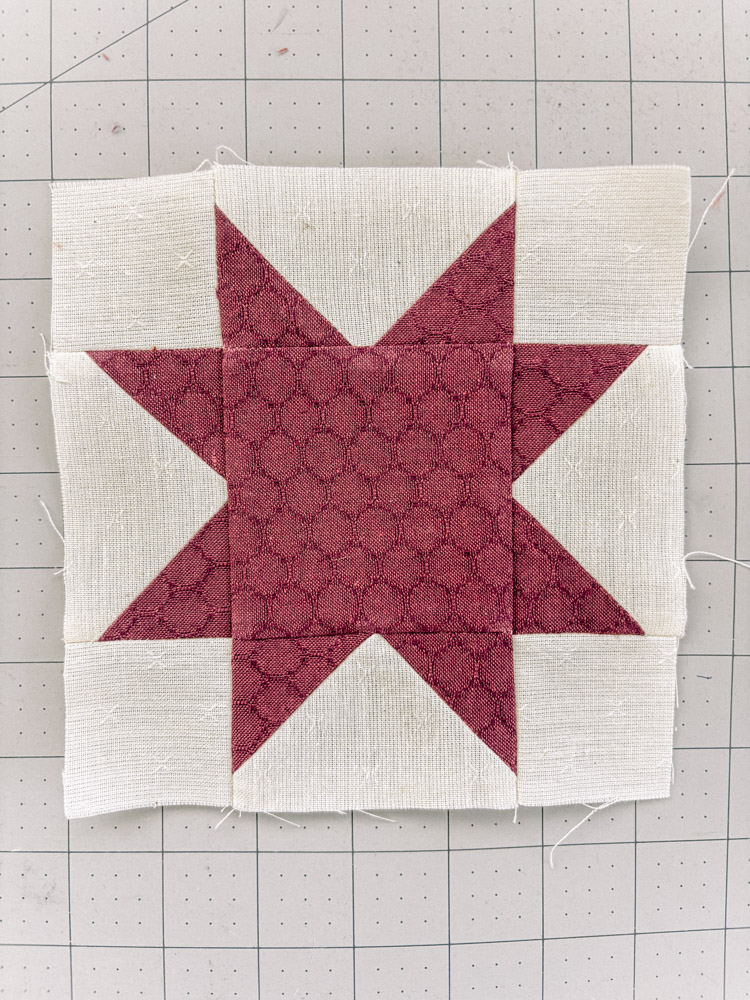 – For this project, I used two options for adding a bit of layering to give the stocking some bulk. Choose whichever you’d prefer or even utilize what you have on hand. The first option is traditional batting—I used cotton batting in my Golden Star Stocking and stitched in the ditch for quilting before attaching the lining. For the Queen of Hearts Scallop Stocking and the Single Star Stocking, I used fusible fleece, pressing it to the wrong side of the outer fabric before cutting out the stocking pieces. You can also top stitch a few rows with this option if you’d like to give it a quilted look! –
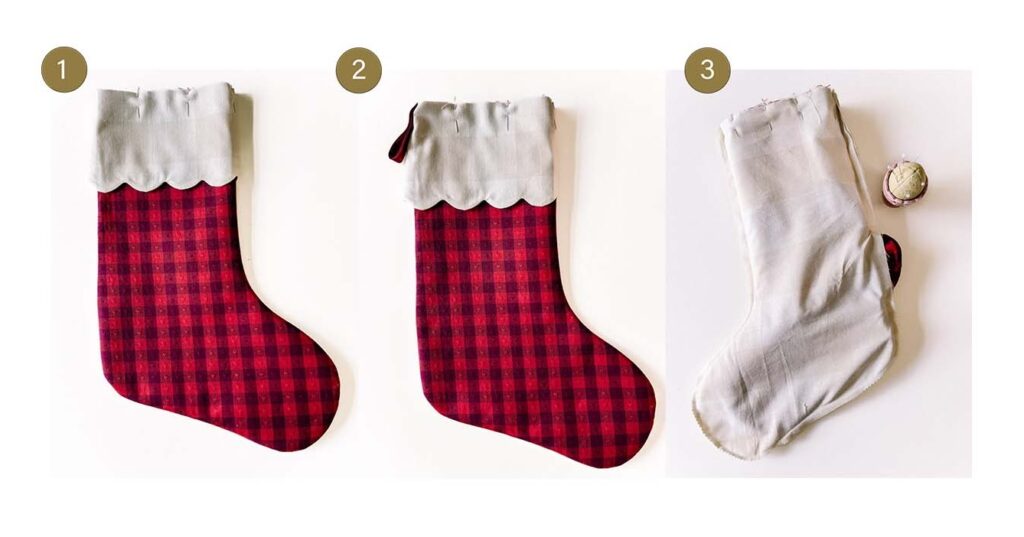
ATTACH YOUR LINING
- To connect the main stocking to the lining, first sew your entire outer stocking, then turn it right side out.
- Next, make your scalloped cuff (if you haven’t already), and pin the cuff to the top edge of your stocking. Add your hanging loop at the side seam, pointing down toward the heel. *For the hanging loop, you can either use a 6″ piece of ribbon folded in half or make one from your project fabric. To make your own, cut a 2″ × 6″ piece of fabric, fold it so the raw edges are enclosed, and stitch it closed.
- Use your stocking pattern to cut out your two pieces of lining fabric. Then sew your lining, leaving a 2–3″ opening in the side so you can turn everything right side out later. You can see this opening and how it works in the third photo.
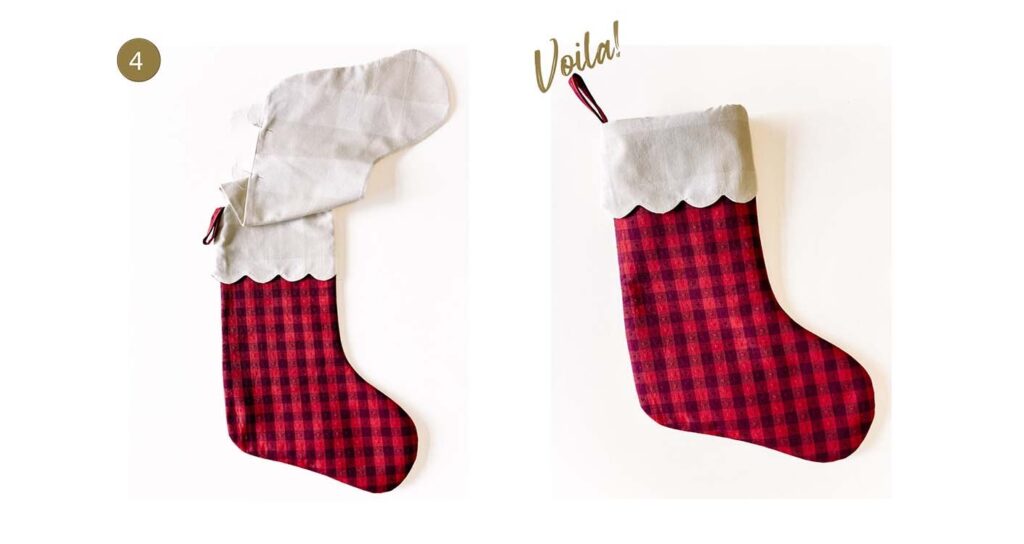
- Slip your stocking inside the lining with the right sides together, then pin and sew around the top straight edge. Use the opening in the lining to pull the main stocking through, and finally, sew the opening in the lining closed before tucking it down inside the stocking.
 – –
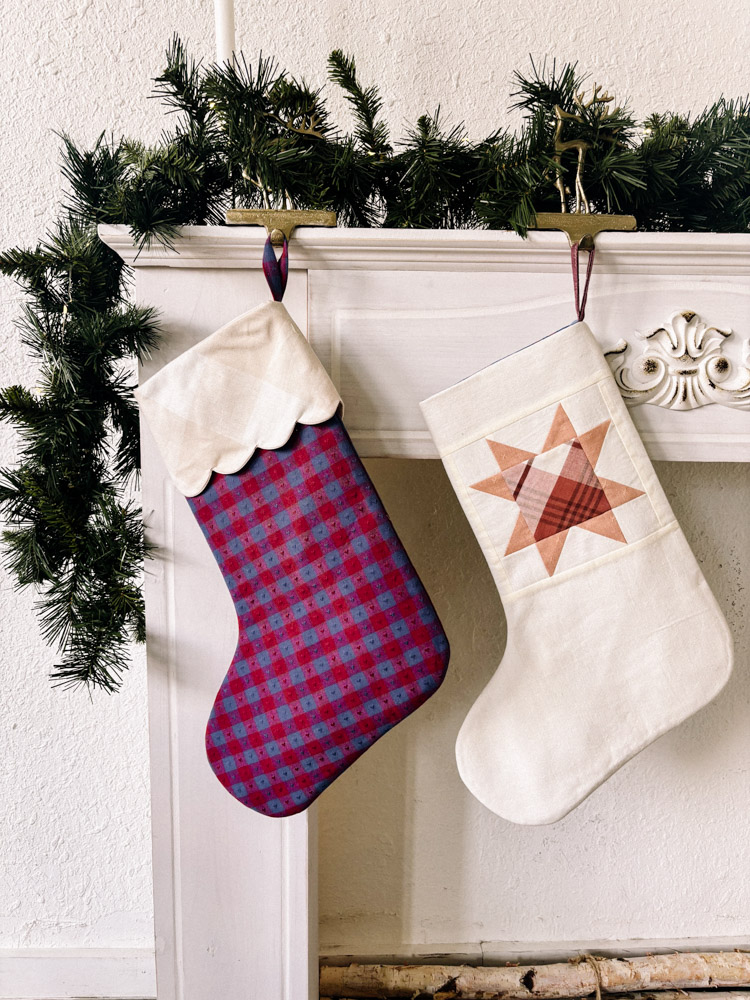
– –Like Our Samples? Here’s what we used:
- Blue/Red Stocking:
- Gingham Hearts in Royal | Queen of Hearts by Fableism Supply Co
- Large Moon Garden | Camp Gingham by Fableism Supply Co. Currently out of stock, sub the smaller Camp Gingham in Moon Garden.
- Red Stocking:
- Gingham Hearts in Maraschino | Queen of Hearts by Fableism Supply Co
- Large Moon Garden | Camp Gingham by Fableism Supply Co. Currently out of stock, sub the smaller Camp Gingham in Moon Garden.
- Maroon Sawtooth Star Stocking:
- Golden Sawtooth Quilted Stocking:

 – –
– –Our entire team here at Cottoneer are excited and honored to join your sewing journey with both inspiration and education. We are confident you will find these posts engaging and encouraging. We would love for you to interact with us. Post your thoughts, your questions and be sure to share your projects with us on instagram. Happy sewing!
~Alisha
–
–

–
–
–


My phone or iPad will not open the pattern
The problem has been fixed. Thanks for letting us know :).
Hi there,
Thank you very much for the pattern and the explanation…
I was wondering if there is a video tutorial, as I am a visual learner.
Thanks in advance 😊
Hello Maribela! We do not have a full stocking video tutorial at this time but maybe in the future. I do have a little video on how to do the scallops on my ma.ma.osa instagram if that is helpful.
I absolutely loved this pattern! My daughters and I made the stockings with the scalloped edge and hand-embroidered a 3 letter monogram. I printed the pattern at 85% size, so I could fit all nine on the mantle; what a party! 🎉 I used a course dark green curdoroy for the stocking and a tan muslin for the top and lining; dark red and gold embroidery.
Thank you so much for the free pattern and tutorial.
I would happily send a picture but couldn’t find a way to send it.
Yay!! This sounds so lovely. First, that you did this as a project together with your daughters and second, all of your ideas for sizing and embellishing. Thank you for sharing the details with us.
If I mix quilting cottons (on the cuff for instance) with wovens, will it look off?
Absolutely not. We’re always mixing both together :).